Your First Project
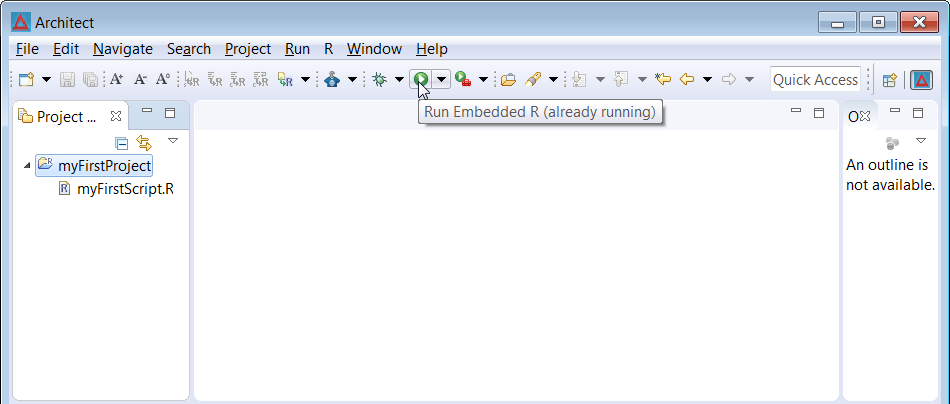
Your first look at Architect is a fairly blank canvas.
![]()
For the uninitiated, this can seem a little disorienting. We’ll walk you through the steps of getting your first project up and running.
Using Project Explorer to Create a Project
The Project Explorer is the directory of all your defined Architect projects. Projects are home to various files, and most commonly will contain things like folders, R scripts and data files.
To create a new project, simply right-click inside the Project Explorer and select New > Project. This may also be done via the main menu with File > New > Project.
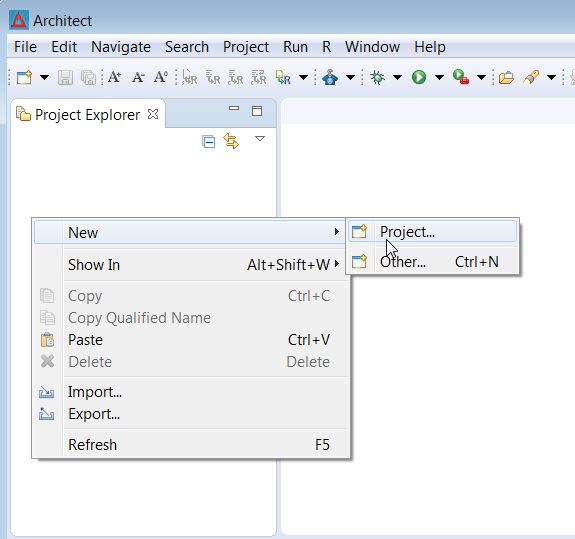
Architect can be used to develop projects in various programming languages. To create an R project, use the settings below.
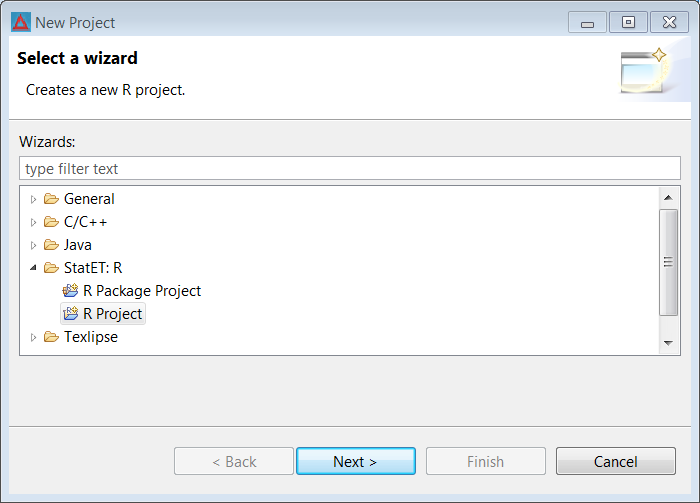
By default, a new project will be created inside of your workspace (in Windows, this is a directory like C:/Users/Username/.architect/workspace). It’s easy, however, to override this default and link to existing directories on your computer.
Projects in Other Directories

To create a project that points to an existing directory, uncheck the Use default location box and click Browse to navigate to the desired folder. This is particularly useful for projects based on a git repository.
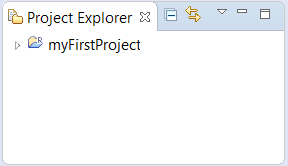
For now, we’ll use the default location, name our first project and click Finish.
Scripts and the Console
We’ll now populate our first project. Create an R script in a given folder by right-clicking the folder and selecting New > R Script File. You may also paste files from your clipboard.

Launching a Console in a Directory
R code is run in a view called the Console. An R console launches automatically when you open Architect.
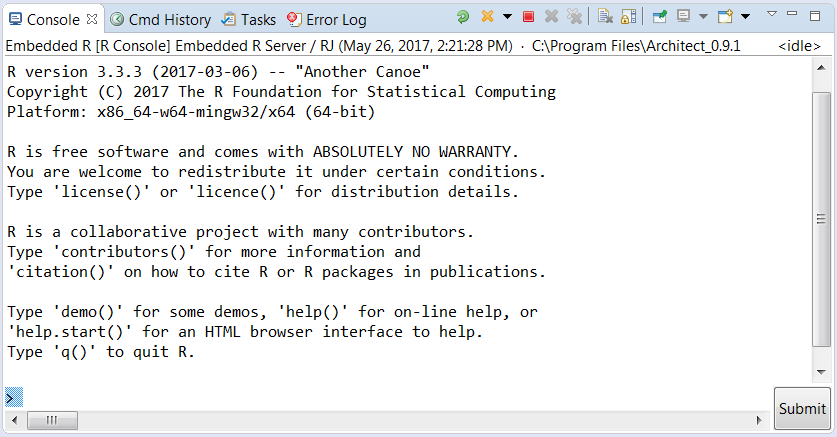
We cover the functionaly of these many buttons in a later section, but for now we direct our attention to the top-right corner. The console lists our current working directory as ‘C:\Program Files\Architect_0.9.1’, but you’ll likely want your code to be evaluated elsewhere. Although you can change the working directory with a setwd() call, often it’s easiest to select a folder from the Project Explorer and launch a fresh R Console from there.
To do so, simply click on the desired folder, then click the green ‘play’
button  in the top toolbar.
This launches a fresh console in the selected directory.
Running Code in the Console
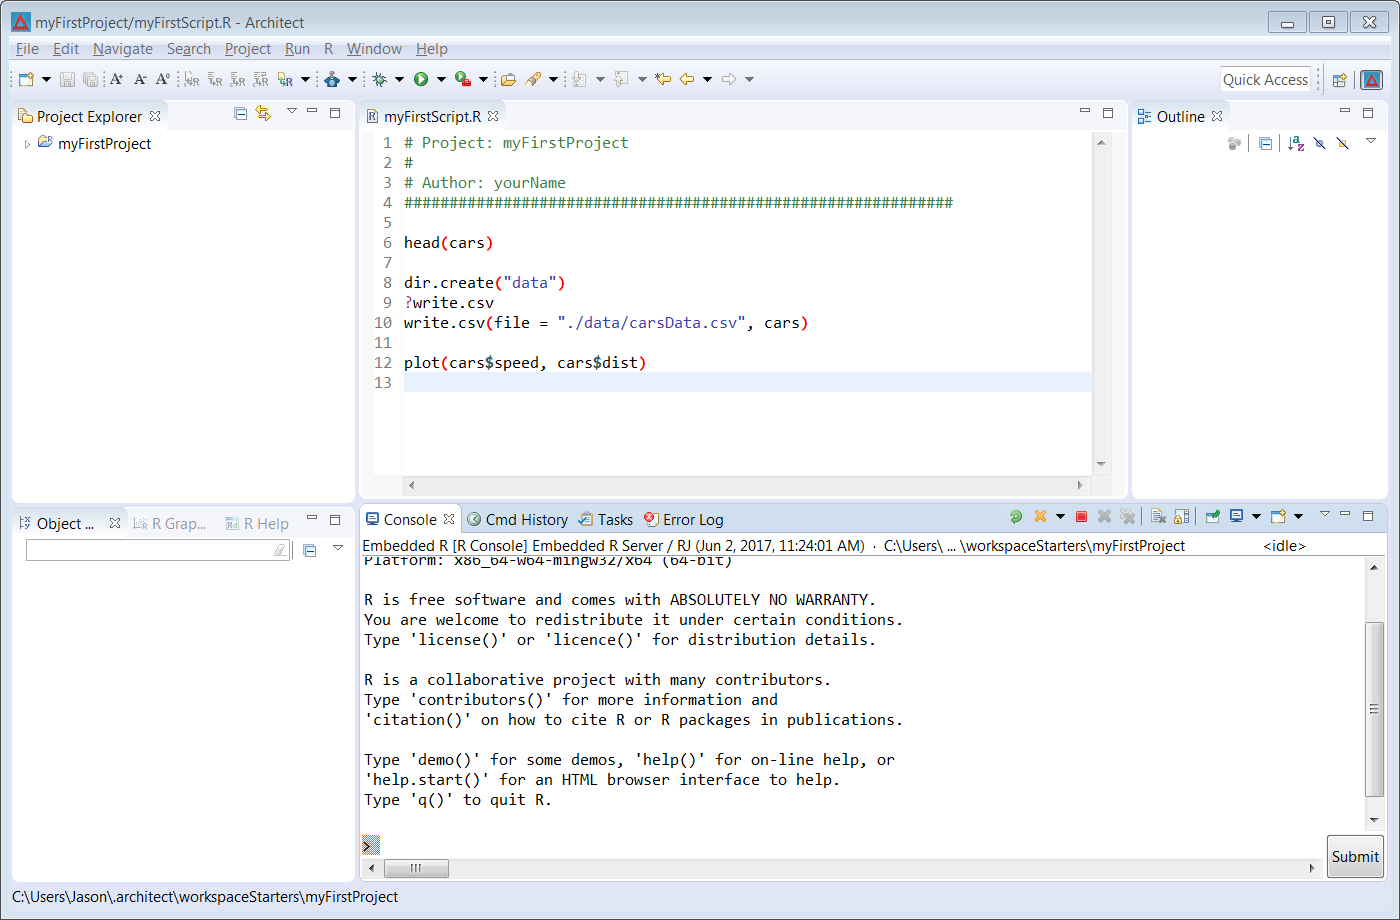
With a console open in our ‘myFirstProject’ directory, we’re ready to run a basic script.
head(cars)

dir.create("data")
?write.csv
write.csv(file = "./data/carsData.csv", cars)

plot(cars$speed, cars$dist)
There are several ways to run code within Architect. Most commonly, users use customizable keyboard shortcuts. By default, the command Ctrl+R, Ctrl+R will fun a selection of code in the console. A list of commonly used default keyboard shortcuts are given in the Architect Reference Card. To customize these inputs, please refer to the section Customizing Keyboard Shortcuts.
Alternatively, it is possible to simply copy and paste a selection of R code directly into the console. Highlighting and right-clicking code in a script also presents options for evaluating code.
After running the above section of code, your Architect session will look something like this:

We’ll notice that as certain lines of code were evaluated, Architect automatically opened relevant views. The above code prompted the opening of the R Help and R Graphics views. This is very useful, but we immediately see some issues. The R Help view is quite small, our graph isn’t properly scaled to the window, and at the moment, we don’t even need the Outline view.
In the next section, we’ll cover how to fully customize your Architect layout, and save presets so you can easily switch between your configurations (especially useful when switching from a single monitor to dual monitor setup).